How to include Bootstrap in your project with Webpack
Updated on
Now that Bootstrap 4 has arrived, I thought I’d share an example configuration to include Bootstrap as part of the Webpack bundling process. This allows you to override the built-in variables and integrate Bootstrap components into your Webpack bundle.
The source code for this article is available on GitHub.
Basic setup
If you have not already, create a directory for your project. Initialize npm to create a package.json file, then install webpack locally.
$ mkdir bootstrap-webpack && cd bootstrap-webpack
$ npm init -y
$ npm install webpack --save-dev
Create the following directory structure for your project, separating the “source” code /src from our bundled “distribution” code /dist.
  bootstrap-webpack
  |- package.json
+ |- /dist
+   |- index.html
+ |- /src
+   |- app.js
Installing Bootstrap
Use the following command to install Bootstrap and its peer dependencies, jQuery and Popper:
$ npm install bootstrap jquery popper.js --saveIf you choose to import Bootstrap’s JavaScript plugins individually as needed, you must also install exports-loader.
$ npm install exports-loader --save-devYou’ll need to install the required loaders and postcss plugins for compiling and bundling Bootstrap precompiled Sass files.
$ npm install autoprefixer css-loader node-sass postcss-loader sass-loader style-loader --save-devWebpack configuration file
Create a webpack configuration file. The example configuration file included below assumes you’ll be using the Boostrap Sass source files as part of your project’s bundling process.
  bootstrap-webpack
  |- package.json
+ |- webpack.config.js
  |- /dist
    |- index.html
  |- /src
|- app.jsconst path = require('path');
module.exports = {
entry: './src/app.js',
output: {
filename: 'bundle.js',
path: path.resolve(__dirname, 'dist')
},
module: {
rules: [
{
test: /\.(scss)$/,
use: [
{
// Adds CSS to the DOM by injecting a `<style>` tag
loader: 'style-loader'
},
{
// Interprets `@import` and `url()` like `import/require()` and will resolve them
loader: 'css-loader'
},
{
// Loader for webpack to process CSS with PostCSS
loader: 'postcss-loader',
options: {
plugins: function () {
return [
require('autoprefixer')
];
}
}
},
{
// Loads a SASS/SCSS file and compiles it to CSS
loader: 'sass-loader'
}
]
}
]
}
};Importing Bootstrap JavaScript
Import Bootstrap’s JavaScript by adding this line to your app’s entry point /src/app.js:
import 'bootstrap';Alternatively, you may import plugins individually as needed:
import 'bootstrap/js/dist/util';
import 'bootstrap/js/dist/dropdown';
Importing Bootstrap Sass
When importing Bootstrap’s Sass source files you can include all of Bootstrap, or pick only the parts you need. Update your project’s directory structure and create a new file /src/scss/app.scss.
  bootstrap-webpack
  |- package.json
  |- webpack.config.js
  |- /dist
    |- index.html
  |- /src
    |- app.js
+   |- /scss
+     |- app.scss
Import all of Bootstrap’s Sass by adding this line to app.scss
@import "~bootstrap/scss/bootstrap";Alternatively, you may import parts of Boostrap individually as needed. Note that Bootstrap’s functions, variables and mixins are required. See the boostrap.scss file for the full import stack.
// Required
@import "~bootstrap/scss/functions";
@import "~bootstrap/scss/variables";
@import "~bootstrap/scss/mixins";

// Optional
@import "~bootstrap/scss/reboot";
@import "~bootstrap/scss/type";
@import "~bootstrap/scss/images";
@import "~bootstrap/scss/code";
@import "~bootstrap/scss/grid";
Finally, include Bootstrap’s Sass in your bundle by adding this line to your app’s entry point /src/app.js:
import './scss/app.scss';Bundling with Webpack
Edit your package.json file to add a npm script to run the webpack command.
{
"name": "bootstrap-webpack",
"version": "1.0.0",
"description": "",
"main": "index.js",
"scripts": {
+ "build": "webpack",
"test": "echo \"Error: no test specified\" && exit 1"
},
"keywords": [],
"author": "",
"license": "MIT",
"devDependencies": {
"autoprefixer": "^7.2.5",
"css-loader": "^0.28.9",
"exports-loader": "^0.6.4",
"node-sass": "^4.7.2",
"postcss-loader": "^2.0.10",
"precss": "^3.0.0",
"sass-loader": "^6.0.6",
"style-loader": "^0.19.1",
"webpack": "^3.10.0"
},
"dependencies": {
"bootstrap": "^4.0.0",
"jquery": "^3.2.1",
"popper.js": "^1.12.9"
}
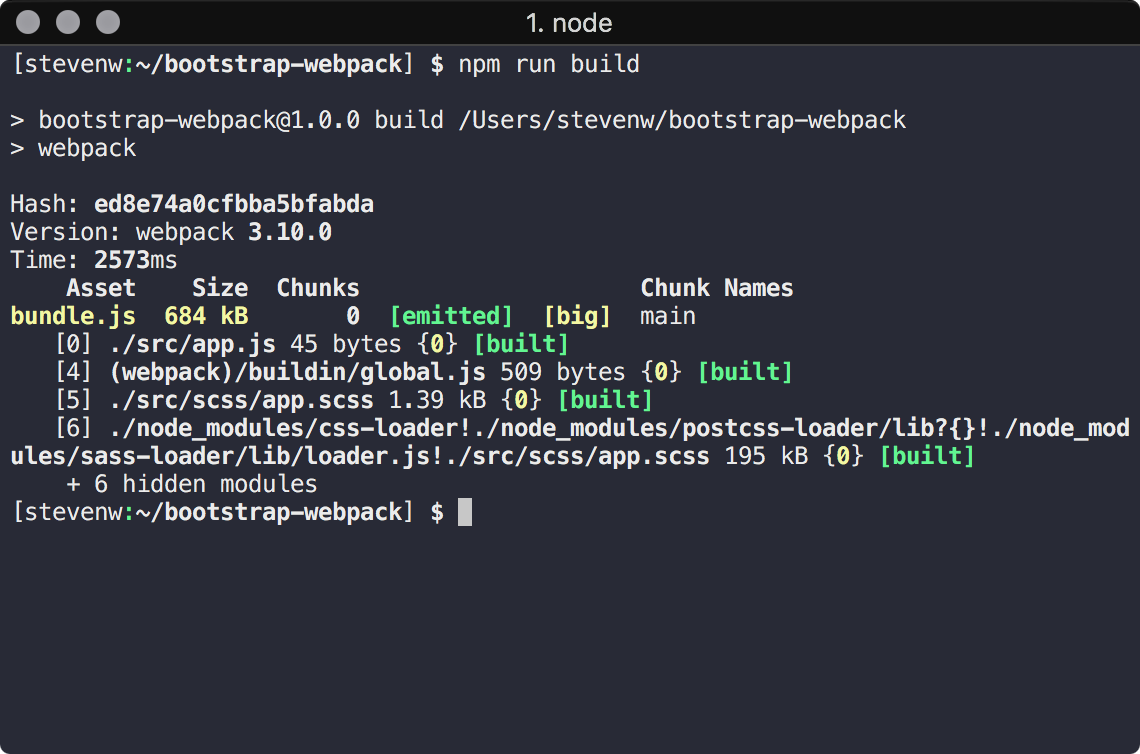
}You may now use the npm run build command to build your bundle with Webpack.
To test your bundle, create a new file /dist/index.html:
<!doctype html>
<html>
<head>
  <meta charset="utf-8">
  <meta name="viewport" content="width=device-width, initial-scale=1, shrink-to-fit=no">
  <title></title>
</head>
<body>
  <h1 class="display-1">Hello World</h1>
  <script src="./bundle.js"></script>
</body>
</html>
The components that were included in your bundle are available after the bundle.js script has loaded.